Step 1: Gather Necessary Tools and Equipment
Before you begin the installation process, ensure you have all the required tools and equipment. This may include wrenches, screwdrivers, lubricants, and any specialized tools recommended by the ball screw manufacturer.
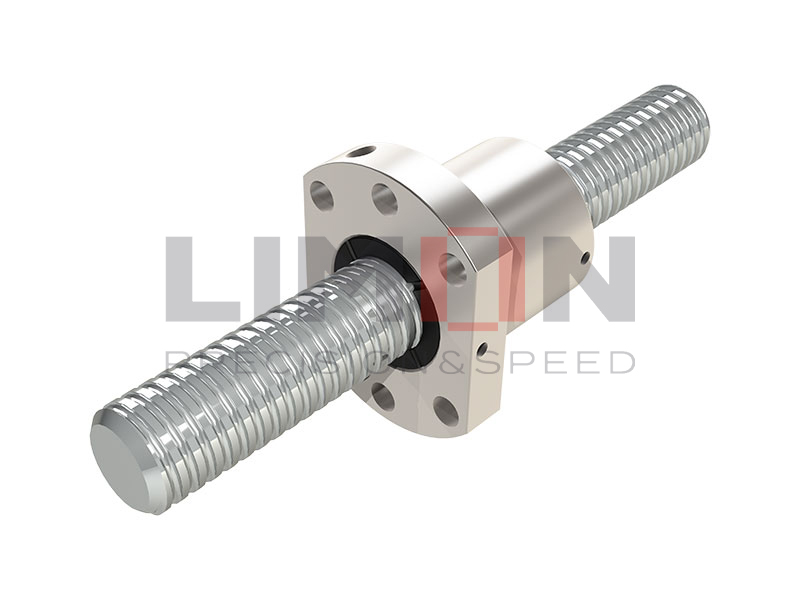
Step 2: Inspect the Components
Thoroughly inspect the ball screw, ball nut, and associated components for any signs of damage or defects. Verify that the ball bearings are in good condition, and check for proper lubrication.
Step 3: Prepare the Mounting Surface
Clean and prepare the mounting surfaces where the ball screw and ball nut will be installed. Ensure that the surfaces are flat, clean, and free from any debris that could affect the alignment.
Step 4: Align the Ball Screw
Proper alignment is critical for the smooth operation of the ball screw. Align the ball screw with the intended axis of motion, ensuring that it is parallel and concentric to the mounting surface.
Step 5: Attach the Ball Nut
Carefully thread the ball nut onto the ball screw, making sure that it engages smoothly. Use the appropriate tools to secure the ball nut to the mounting surface, following the manufacturer’s torque specifications.
Step 6: Check Preload and Clearance
Verify the preload and clearance settings of the ball screw as per the manufacturer’s recommendations. This step is essential for achieving the desired performance characteristics and minimizing backlash.
Step 7: Lubricate the Ball Screw
Apply the recommended lubricant to the ball screw and ball nut. Proper lubrication is crucial for reducing friction, ensuring smooth operation, and extending the life of the ball screw.
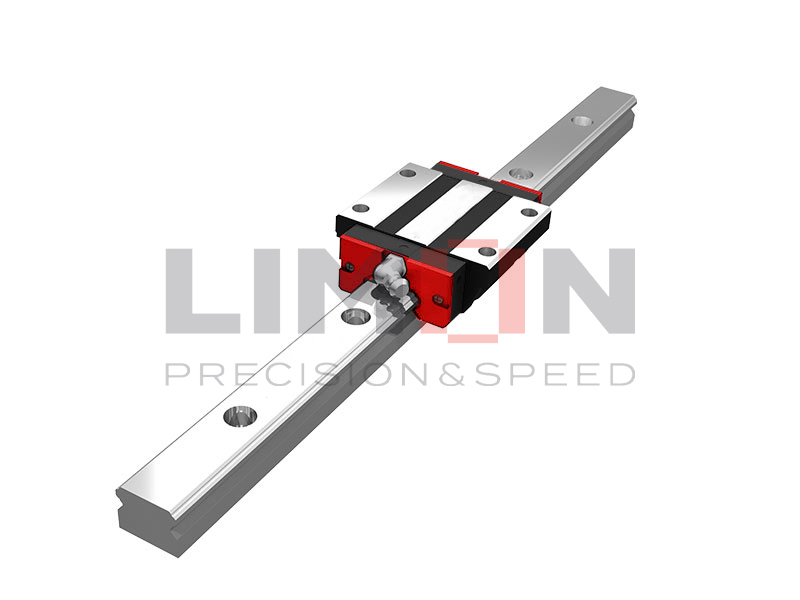
Step 8: Connect to the Drive System
Connect the ball screw to the drive system, ensuring that the coupling or other connecting elements are correctly installed and aligned. Follow the manufacturer’s guidelines for coupling installation.
Step 9: Perform a Test Run
Before putting the system into full operation, perform a test run to ensure that the ball screw operates smoothly and without any unusual noise or vibrations. Check for proper linear motion and responsiveness.
Step 10: Final Checks and Adjustments
Conduct final checks on the entire system, including verifying alignment, preload, and clearance. Make any necessary adjustments to achieve optimal performance.
Installing a ball screw requires precision, attention to detail, and adherence to manufacturer specifications. Following this step-by-step guide will help you navigate the installation process smoothly, ensuring that the ball screw integrates seamlessly into your machinery for reliable and precise linear motion. Always refer to the specific guidelines provided by the ball screw manufacturer for the best results.